The corporate portal of NovSU offers its users a new service - a package of office microsoft programs Office 365 (Word, Excel, PowerPoint, etc.).
This shared corporate resource is now available to all students, faculty and staff of the university.
Microsoft Office 365 allows you to edit and create documents from any computer, tablet or phone with an Internet connection, right through your browser.
Below we will tell you how to get started using Office 365.
SYSTEM REQUIREMENTS
To fully use Office 365, you only need to have any modern browser, such as Mozilla Firefox, Google chrome, Opera or Internet Explorer older than version 8.
Not sure which browser you are using? Nothing wrong! If the icon you click to access a website looks like one of the following, then you have nothing to worry about.
Not like that? Then go to http://2ip.ru/ in the browser you are using and find there the line with the name of your browser:
If your browser is Internet Explorer 6 or 7, then you need to install a different browser to use Office 365. You can do this by clicking here on this link: download a new browser.
FIRST LOGIN
Enter the address as login emailissued to you by NovSU. The password is the password from this email.
Passwords from mail and from the portal site do not match! The e-mail address and password from it are indicated on the registration card issued to you below the login and password from the portal.
Also on 11/25/13 you have been sent a letter with the subject " Reminder of registration data from your mail account... Required for Office365"with a username and password from your mail. You can find this letter in the Mail section on the university portal.
So, you are logged in. But don't be in a rush to start using Office 365. The Microsoft cloud service takes a while to set up a user experience (typically, it takes about 10 minutes). During setup, some of the services will be unavailable, and you will see the message "Almost everything is ready" when you try to access these services.
USING OFFICE 365
The university, as part of the Microsoft Office 365 package, provides portal users with the opportunity to use Office Web Apps products. These products repeat the functionality of the Microsoft Office 2013 suite of programs, but at the same time they are absolutely free for you and are available directly from your browser!
To start using Office Web Apps, you need to go to the SkyDrive tab on the top bar.
This is where you will create and edit your documents. You can store them directly in the cloud, or after editing, save them to your local computer.
To create a new document, simply click "create document" and select the desired document type. The following types are available to you:
- Word document;
- Excel workbook;
- PowerPoint presentation;
- OneNote notebook;
- Excel survey.
If you want to edit a previously created local document, simply drag the file from the explorer window to the browser window with Office 365 open.
In addition to Office Web Apps, Office 365 also includes a Microsoft SharePoint product, where you can blog, chat with colleagues, or collaborate on documents. However, we do not recommend using these functions, since they duplicate (often incorrectly) the capabilities of the NovSU portal. However, you can use SharePoint as you see fit and at your own risk.
We wish you success in your work with office services. We hope you find it convenient to use Office 365.
Portal administration
If you have any problems or difficulties in working with Office 365, you can contact the portal administration for help by filling out the form feedback below.
Working with Office 365
In this chapter, we will describe the procedure for registering and creating an account for our organization in Office 365.
It consists of 3 stages:
- 1st. Sending an application.
- 2nd. Receiving instructions on how to activate the product by e-mail.
- And the 3rd. Actually activation.
Let's get started. Initially, we need to go to the site of the Russian partner Microsoft®: - SKB Kontur company. For this:
- Let's start the Internet browser.
- In the address bar, type the address kontur365.ru. At the indicated address we will get to the page Application for connecting the Kontur 365 portal.
- On this page you can get acquainted with brief description and service capabilities.
- To create an application, click the Try button. A screen form for filling out an application will open.
The form fill dialog has 2 tabs:
- Order a demo.
- And Buy the full version.
We will focus on free trial of Office 365... The demo version of the program is a full-fledged working version, only with a limited period of use. Office 365 can be used for a 30-day trial period. After a decision is made on the commercial use of the product, it will be necessary to buy licenses for the required number of users. In this case, all accounts from the trial version will be activated, and the trial version will be converted to the paid version.
Fill in all the fields on the "Order a demo" tab:
- name and surname of the first user of the service,
- name of the organization,
- her TIN and KPP,
- region,
- e-mail address to which a description of the activation procedure will be sent,
- the desired domain name in the "onMicrosoft®.com" domain. We recommend that you enter your organization's abbreviation here. When you create the 1st account in this domain, your organization's public site will be created. In the future, you can continue to use the specified name or change to your existing domain. You can add multiple domains to your Office 365 program that belong to your organization. One of the video tutorials will be devoted to working with domains.
- After all the fields are filled in, click the Submit Application button. The procedure will go through the procedure for checking the correctness of filling in the fields and the unoccupancy of the domain name you entered. If successful, the application will be sent.
Within 12 hours after registration, an email will be sent to the email address you specified in the application with instructions on how to sign in to Office 365.
After receiving a letter from the support service, we will complete all the steps indicated in the activation instructions.
- Old Password,
- New Password. The difficulty level of the password is displayed by an indicator below the input field. If it is green, the password meets the difficulty criteria.
- Re-enter the new password in the confirmation field.
- Click the Submit button. You will be returned to the portal start page.
- Make sure your ID is selected in the Login section and enter your password again.
- Click the Login button. In a few seconds, you are taken to the main office page. Registration and creation of the first account were successful.
The first account is the administrator account. Administrator has Office 365 licenses disabled by default. You can either assign licenses to the administrator, or create a user and specify the required licenses for him. Let's dwell on the option of assigning licenses for the administrator.
Up start page the main menu is located in the office. So far it contains only 2 commands:
- Homepage
- and Administrator.
Run the Administrator command. The page of the same name will open.
In the left pane, under Manage, select Users. The section of the same name will be displayed, in which there is a table with a list of users registered in the system. So far, it contains only one entry - this is the administrator who logged into the Office for the first time.
Select the licenses to assign by checking and clearing the appropriate checkboxes. Selecting the Microsoft® Office 365 checkbox allows you to assign all three available licenses to the user:
- Lync® Online,
- SharePoint® Online,
- Exchange Online.
- After checking the boxes, click the Save button. Licenses are assigned.
- Click the Save button again. The changes will take effect, and you will be returned to the Users section.
Note. 2 new commands have appeared in the main menu of the office:
- Outlook®
- and Group site.
- To set up the Office and its home page taking into account the assigned licenses, execute the Home page command of the main menu.
After a short setup, the home (or home) page will change. It will contain sections according to the licenses assigned to the user. We will get acquainted with each of these sections in the following lessons.
| 1. | Introduction | 3:23 | 1 | 5455 | |
| 2. | How to get started with Office 365 | 6:04 | 0 | 5969 | |
| 3. | Initial setup | 4:21 | 1 | 4415 | |
| 4. | Getting to know the home page | 3:31 | 0 | 1986 | |
By purchasing Office 365 from us, you are guaranteed to get:
Deployed consultation by functionality and product versions;
. help in choosing the right version;
. licensed software;
. documents, confirming legality BY;
. favorable prices.
Office 365 for business gives businesses access to robust Office tools and enterprise-class IT services that are easy to administer.
The cost
Why is Office 365 the solution to your problems?
Which Office 365 subscription should you choose?
Business Premium
The latest version of Office (local and online) and business-class online services (mail, messaging, communications, etc.).

Business
Only office applications latest version (local and online), 1TB cloud storage.
Business Essentials
Online versions of Office applications and interactive services business class (mail, messaging, communication, etc.). Economy subscription for those who no local office needed.
For big business
Office 365 services
Individual Office 365 services
trial version
Office 365 for business pricing
| Product | Price for 1 month | Price for 1 year |
|---|---|---|
| RUB 312 | Add to cart 3960 rub. | |
| RUB 515 | Add to cart 6500 rub. | |
| RUB 780 | Add to cart 9800 rub. | |
| 748 RUB | Add to cart 9680 rub. | |
| 498 r | Add to cart 6270 rub. | |
| 1240 RUB | Add to cart 15300 rub. | |
| 1360 RUB | Add to cart 17270 rub. |
* - installation is possible on 5 PC / Mac, 5 tablets and 5 mobile devices under 1 license of 1 user. If several different users plan to use MS Office 365, then the number of purchased licenses must be equal to the number of users. For example, for 5 users, you need to purchase 5 licenses.
Free project calculation
Compare Office 365 for organizations subscriptions
| Subscriptions | Business Essentials (Business basic) |
Business (Business) |
Business Premium (Business premium) |
Professional Plus | E3 plan for large business |
|---|---|---|---|---|---|
| Maximum number of users | 300 | 300 | 300 | not limited | not limited |
| Local installation full versions Office for 5 devices for 1 user: Word, Excel, PowerPoint, OneNote, Outlook, Publisher | |||||
| Client applications Access and Skype for Business (Lync) | |||||
| Office Online: Word, Excel, PowerPoint and more | |||||
| 1 TB cloud storage: storing and sharing files | |||||
| Integration with Active Directory: manage user credentials and permissions, single sign-on | |||||
| Office for tablets: iPad and Windows tablets | |||||
| Office for smartphones | |||||
| Email: access to calendar, contacts and 50 GB mailbox | |||||
| Online meetings: web conferencing, instant messaging, video, presence | |||||
| Intranet site for your teams | |||||
| Enterprise social networks | |||||
| Enterprise Application Management Tools: group policies, telemetry, activation on a public computer | |||||
| Self-service business intelligence: search, analyze and visualize data using Excel | |||||
| Compliance and data protection: legal hold, rights management and data loss prevention for email and files | |||||
| EDiscovery Center: Compliance tools. Search SharePoint sites and mailboxes Exchange. | |||||
| Hybrid deployment support on local servers | |||||
| Possibility integration with telephony | |||||
Office 365 Business Premium

Office 365 Business Premium is a complete office suite for users who want latest versions Office desktop applications, accessibility to work with documents on any device, and easy to use cloud services corporate level.
Microsoft Office 365 for enterprises is a set of easy-to-use web-based tools that give you access to email, important documents, contacts, and calendar from virtually anywhere and on any device. For a quick introduction, see Overview for Office 365 users for an overview of Office 365.
This suite includes Microsoft Office Web Apps, which are web versions of the familiar microsoft applications Office for desktop systems such as Microsoft Word, Excel and PowerPoint. With Office Web Apps, you can create and edit documents in a web browser on any PC.
In that quick guide covers a number of common tasks that you often need to perform in your day-to-day use of Office 365.
If you're an Office 365 admin, see Introducing Office 365 Admins to learn more about admin tasks.
Internet browsing
The Office 365 portal provides instant access to email and shared documents for your organization. Wherever the user is, with an Internet connection, they can always access Office 365.
To get started, you need to know your own Microsoft Online Services ID and password. If you don't already have them, contact your organization administrator to get them.
Sign in to the Office 365 portal
Enter your Microsoft Online Services ID and password.
Office 365 Portal Title
After you sign in to the Office 365 Portal, notice upper part pages. The horizontal bar with links is called heading... The title is always displayed at the top of most pages, ensuring fast access to Office 365 features with one click.
Homepage... This is the page that opens when you sign in to Office 365.
post office
An Office 365 account includes an email service. For data security and privacy, email is stored on Microsoft servers. You can read e-mail in the Outlook desktop app or in Microsoft Outlook Web App.
Create an email message in Outlook Web App
The Inbox page appears and is familiar to users of Outlook on the desktop.
At the top of the middle area, click Create ato create a new message.
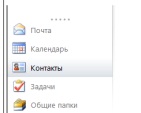
Contacts
Contacts can be used to store information about the people you communicate with, including their email addresses, postal addresses and phone numbers.
Create contact
Import contacts into Outlook Web App

Duplicate contacts will be automatically duplicated in the new contact list. For more information on managing duplicate contacts, see the subsection Importing contacts See the "Working with Desktop Applications" section later in this guide.
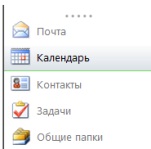
The calendar
Use the calendar to store appointments and organize meetings with colleagues. When organizing a meeting, the calendar allows you to view your own schedule, as well as determine when other participants are free. You can then send meeting requests to colleagues.
Calendar view
Create a meeting
Instant messaging
After you add people to your contact list, you can communicate with them directly in your browser using Outlook Web App.
Chatting with a contact
Share documents and information with SharePoint Online
Office 365 maintains a team site for working together users with documents and data exchange. The team site is maintained using Microsoft SharePoint Online, which acts as a centralized repository for team documents. Storing documents in SharePoint Online enables you to maintain security, implement versioning, and edit and view documents in Office desktop and Office Web Apps. In addition to collaborating on documents, the exchange of images, lists, wikis, blogs and other data is also supported. For more information about saving documents from Office 2010 to a team site, see Save a document from Office 2010 to SharePoint.
View a SharePoint team site
Learn more about SharePoint 2010
For an overview of SharePoint 2010 and how to get started, see Basic tasks in SharePoint Online for Office 365 for enterprises on the Office Online website.
Working with desktop applications
You can still use the familiar Microsoft Office. To get the most out of your experience, set up your computer to interact with Office 365.
Note The information in this section applies to computers running operating system Microsoft Windows... If you're using a Mac, see Set up your Mac with Office 365.
Set up Office desktop apps to work with Office 365
Access to account Office 365 email can be accessed directly from the Outlook desktop app. When working in other Office desktop applications, you can save files directly to a SharePoint team site so you can collaborate on them with other team members.
To configure Office settings to provide these capabilities, run the Microsoft Office 365 Desktop Updates Installer.
On the right side of the page Homepage In chapter Resources press the button Downloads.
On the page Downloads install required programs to your computer.
After completing the installation of the programs, return to the page Downloads and in section Installing and Configuring Office Desktop Applications press the button Setting up.
Follow the setup instructions.
Reading mail in Outlook desktop app
You can use both Outlook desktop and Outlook Web App to read e-mail. Switching between the desktop application and the web application is easy. For example, you might use a desktop app at work, and a web app at home and on the road.
If Microsoft Office 2010 is downloaded and installed, run Microsoft Outlook 2010 to access your Office 365 email account. Outlook will guide you through the initial setup steps.
If the computer has previous version Office Outlook 2007 or Outlook 2010, you must first create a new profile with access to your Office 365 account to access your Office 365 email account. A profile contains accounts, data files, and settings that determine where email messages are saved.
Create a profile for Office 365
In Office Outlook 2007, the menu File select team Import and export.
Select an item and click the button Further.
Select item Comma Separated Values \u200b\u200b(DOS) and press the button Further.
Click the button Overview, find the imported contacts file and select it.
In chapter Options select one of the following options.
.Select item Import from another program or file and press the button Further.
In chapter Select the file type to import specify the type of imported file and click Further.
The most commonly used format is Text, comma delimited (Windows)also called a CSV file. If you want to import contacts exported from Outlook to an Outlook Data File (PST), select Outlook Data File (PST).
In chapter Import file press the button Overview, select the file you want to import and click OK.
In the dialog box File import In chapter Options select one of the following options:
Replace Duplicates on Import... If an Outlook contact already exists, it will be replaced with the imported data.
Allow Duplicate Creation... If an Outlook contact exists, the imported contact is created as a second contact.
Don't import duplicates... If an Outlook contact exists, the imported contact details are ignored.
If Outlook is running, close it.
Click the button Start in Windows and select Control Panel.
In field Search in the control panel, search for the word post office.
In the control panel, click the component post office.
Contacts can be imported into Outlook from other applications or from exported Outlook contacts. These instructions assume that contacts have already been exported from Outlook or another application, such as a web client, email excel tables or database applications.
The instructions for importing contacts into Office Outlook 2007 and Outlook 2010 are different. Follow the steps below for your version.
Importing contacts into Outlook 2007
In the dialog box File import In chapter Select destination folder select a folder for imported contacts and click Further.
If you are not using multiple accounts and you have not created multiple contact folders for the account, the Contacts folder is usually selected.
Click the button Done.
Instant messaging with Lync 2010
Microsoft Lync 2010 is an application that installs on desktop computer to communicate with other users using instant messaging (conversation), as well as voice and video calls.
Download and Launch Lync 2010 Application
Nov 29 2015
Microsoft Office 365 - three ways to obtain a license, annual subscription
Hello friends. Want to work in the new Microsoft Office 365 but don't have the money to buy it? The solution is in today's review.
In one of the previous issues, I mentioned how you can get 4 months of work.
In order to work in Microsoft Office 365 you need a license or a subscription on the office website. To get it, you can use three ways: buy a license, use a trial version for a month, or register in the Office 365 developer program and get a one-year license for free. Try a new product, find pros and cons, and inform the program developers about it.
Purchase a license
The first one is the fastest and easiest one - buying a license.
We go to the official website of the office. You can do it yourself through the search or use my link https://www.office.com/.
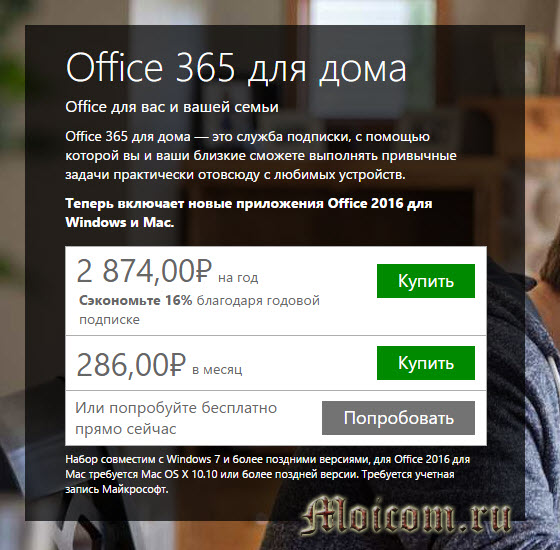
We select the required package:

For home and personal use - 286 rubles per month or for business - 750 rubles per month.

By purchasing one year subscription for one year, you can save 16%.
We follow further instructions, buy a license and use the product.
One month free
The second one will be a little more complicated.
You can test the capabilities of the Microsoft office for a month on a free basis. On the office website, choose a free trial version for home or business.
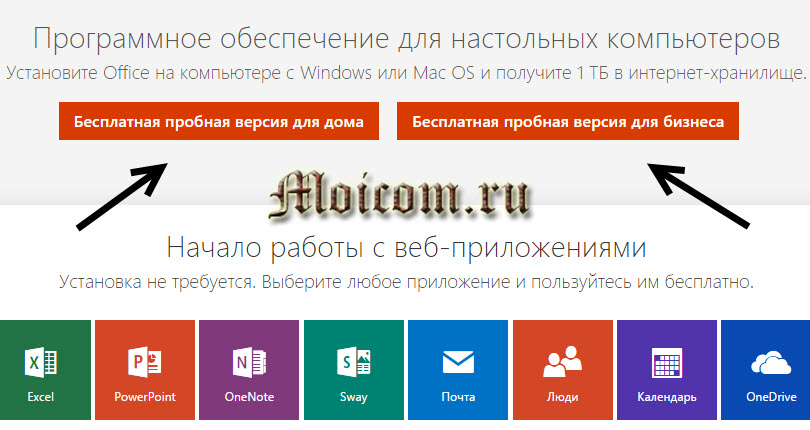
With one subscription, you get Office apps for 5 computers or Macs, 5 smartphones and 5 tablets, 5 terabytes per cloud storage OneDrive. Click Try it for free.

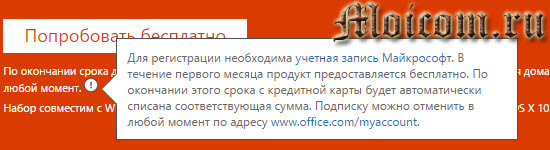
You need a Microsoft account to register. The first month the product will be free. Then with bank card, the next month, a certain amount will be withdrawn. The subscription can be canceled at any time on the Microsoft website, a link is provided.
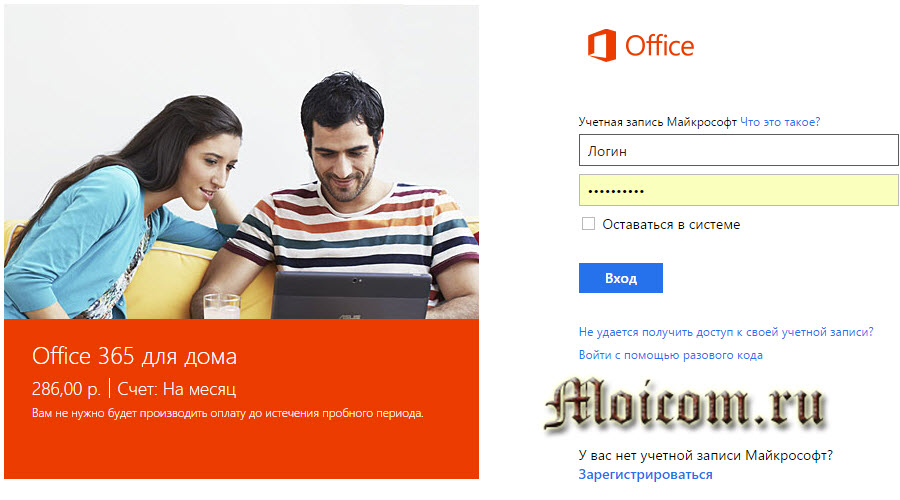
We get to the closed part of the Microsoft website, if you do not have an account here yet, then you need to register. Follow the bottom blue link - sign in with a different microsoft account.

Don’t have a Microsoft account? Sign up now. Don't have a Microsoft account yet? Register now.

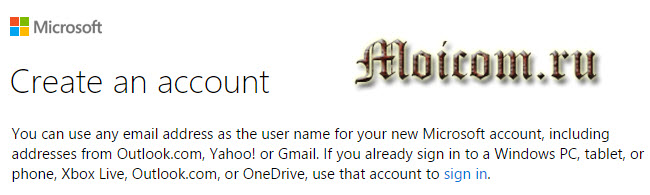
We get to the page for creating an account.
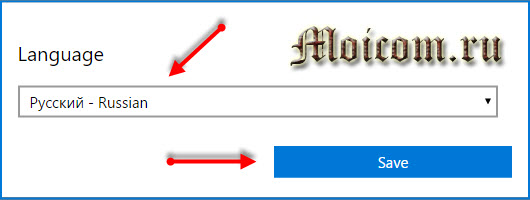
If she is on english language, then we go to the lower right corner of the page, where the date and time are.

Select the desired language and click Save.
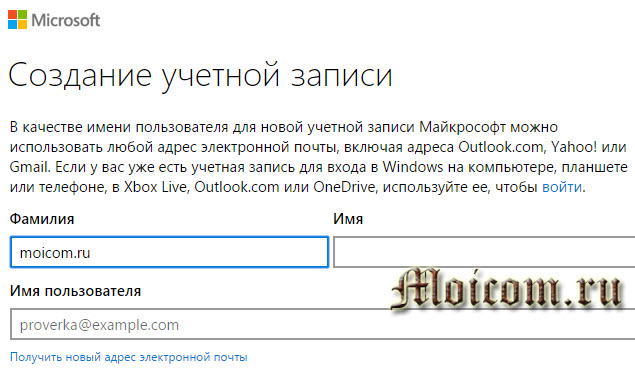
We fill in all the fields and click Create an account.
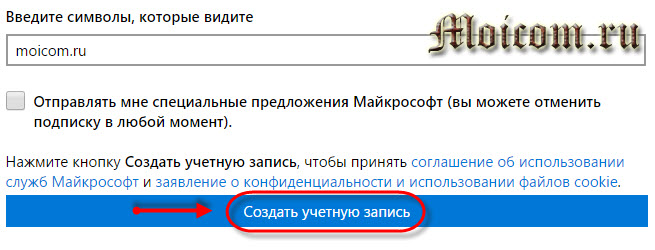
After registration, you need to log in with your account.
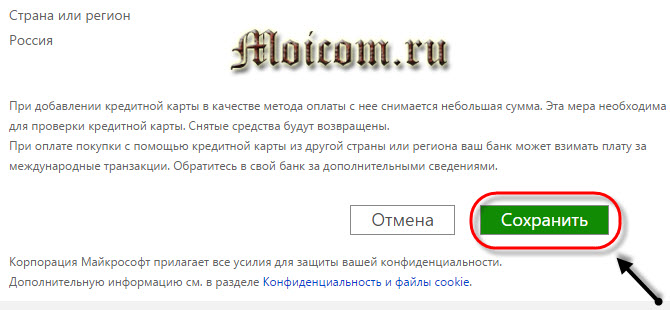
The first month the subscription will be free, but you need to specify your payment card details. After the expiration of the term, a monthly fee of 286 rubles will be charged. In order to save your funds and the money was not withdrawn from the card, you can cancel the subscription during the trial period in your account.

After adding the card, a small amount will be withdrawn from it, to verify your card, all withdrawn funds will be returned.
Microsoft Office 365 - free license for a month | website
Developer Tools - One Year License
To obtain a free annual license, first of all you need to go to the website of the office developers, here is the link to go:
Unfortunately, the page is in English, who has language problems, I will help figure it out here.
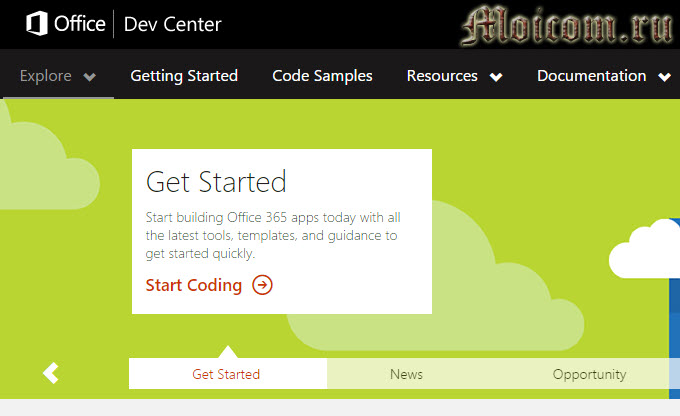
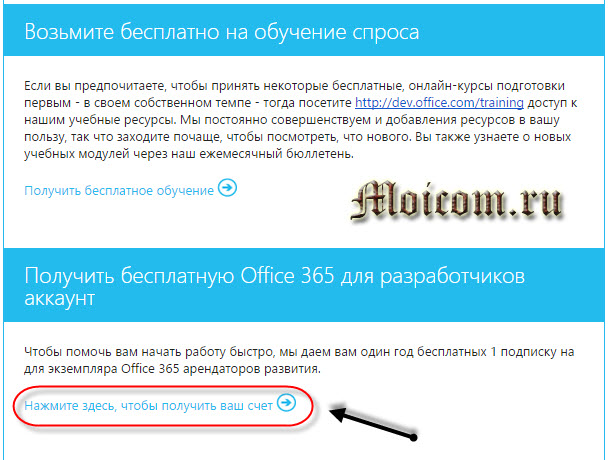
To participate in the Office 365 developer program, you need to register, click on the yellow Sign Up button.

We get to the center of the microsoft profile, fill in the fields, put necessary checkboxes and at the end of the page, click Finish.

We are waiting for the corresponding letter to your e-mail with further instructions. Most likely the letter will be in English, you can translate it or read the original. I will not write all the contents and upload screenshots, I will show only the most necessary.
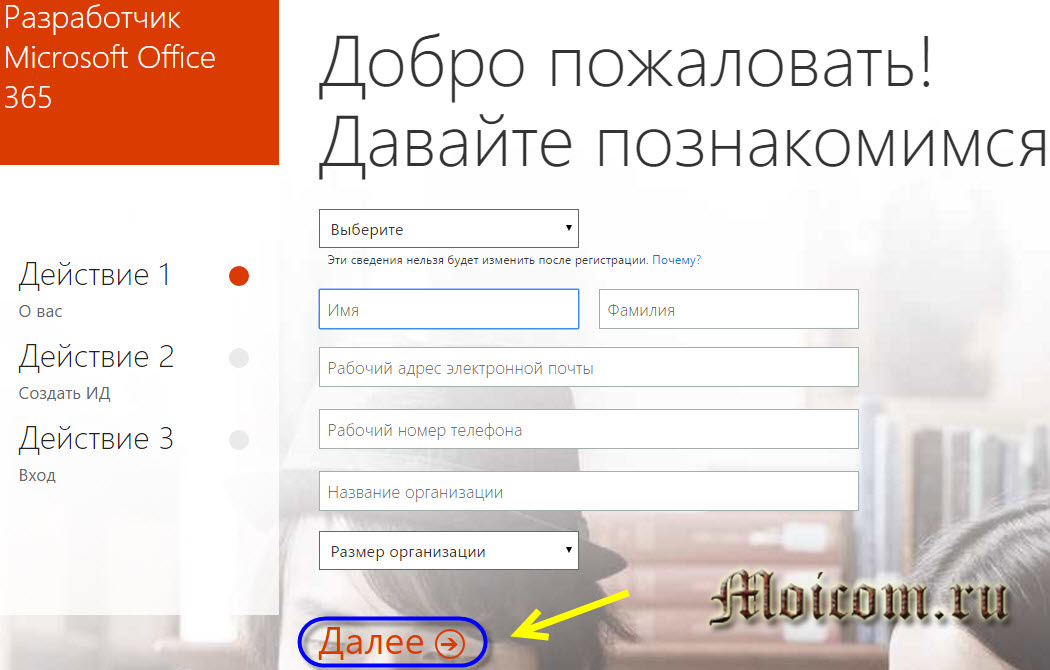
We create our user ID.

We confirm that you are not a robot - send SMS or call for verification. We indicate your mobile phone number.
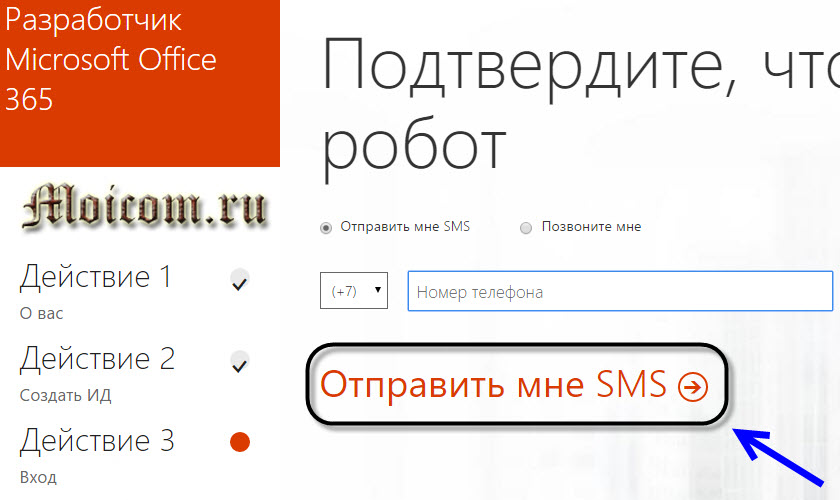
After a couple of seconds, you should receive an SMS with a confirmation code on your phone.
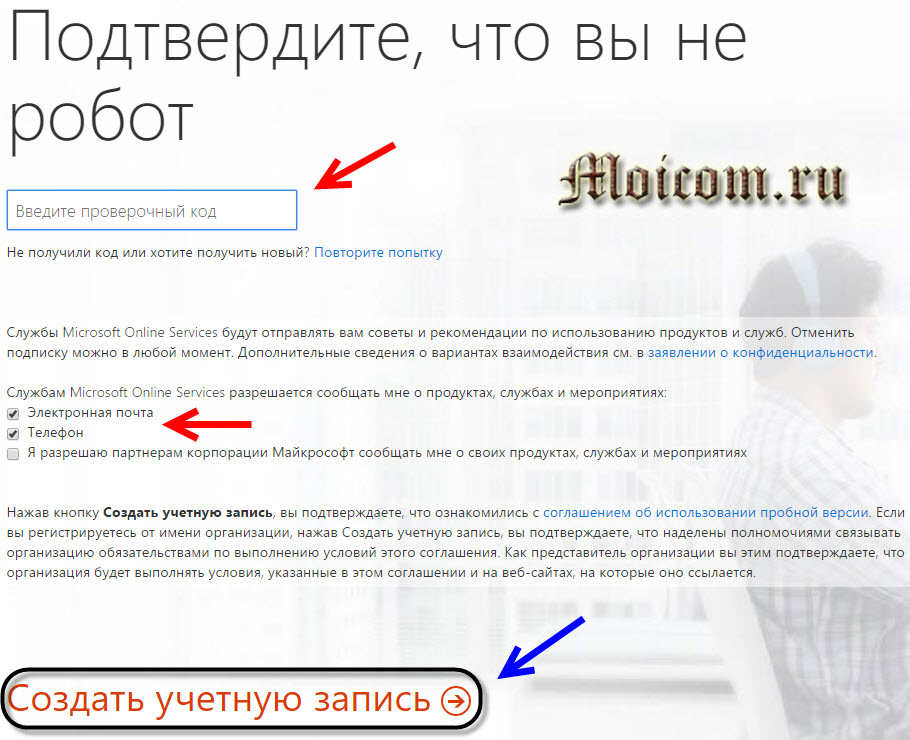
Enter it in the field of the verification code, put the necessary checkboxes to inform you about new products and events.

Optionally, you can familiarize yourself with the privacy statement and agreement of use for a trial version, using the blue links in the text.
Once you have read all statements and agreement, you can create an account.
Save this information, you will need it later: the Office 365 sign-in page and your user ID. Click Done to continue.

You will receive an email notification to start working with Microsoft Office 365.

Registration is completed, the next step is to install the office on your computer.
Installing office on a computer
As soon as you press the button, everything is ready, you will be transferred to the office 365 website.
If you want to use the program and configure it to mobile device, follow the relevant links. Before installation, you can change the language, remove or leave the checkboxes to make Bing and MSN the default and home page... Click Install Now.

We save setup file on the computer.
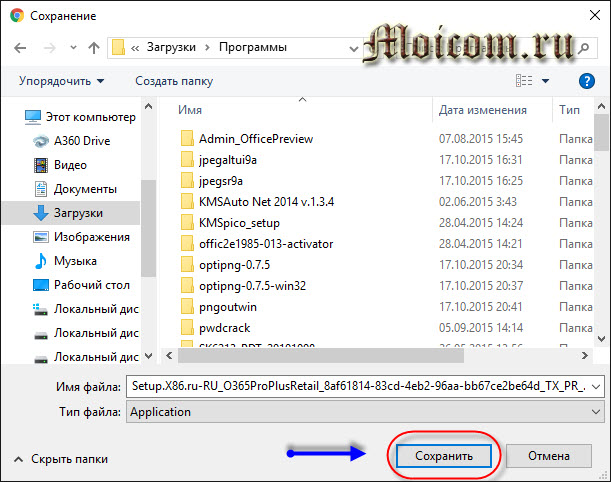
Run the Setup.X86.ru-RU_O365ProPlusRetail file.
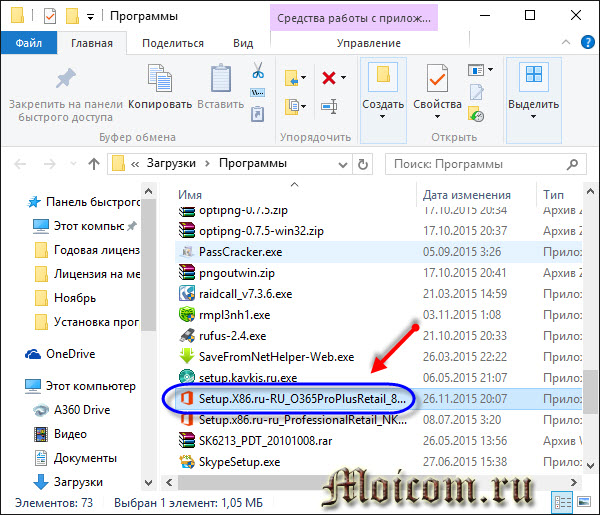
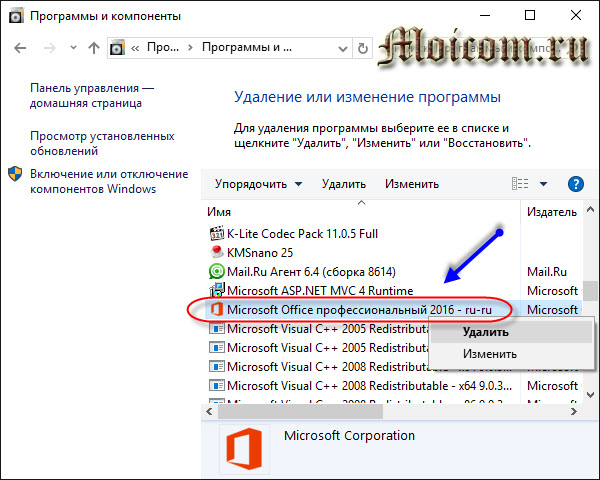
If you have newer versions of the product installed, for example, Microsoft office professional 2016, an alert will appear.
![]()
You need to uninstall this version to install Office 365.
After uninstalling, we start the installation process again, a window with the initial configuration appears.

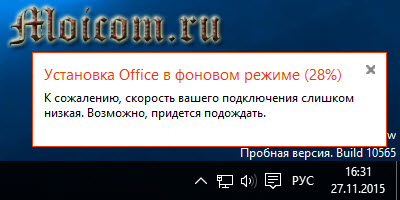
The download of the office from the Internet starts, if you have a slow connection speed, you will have to wait a little.
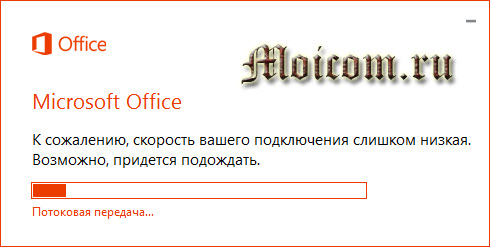
A corresponding notification appears.
When finished, the Welcome to New Office window opens. Hope you enjoy it, click next to get started.

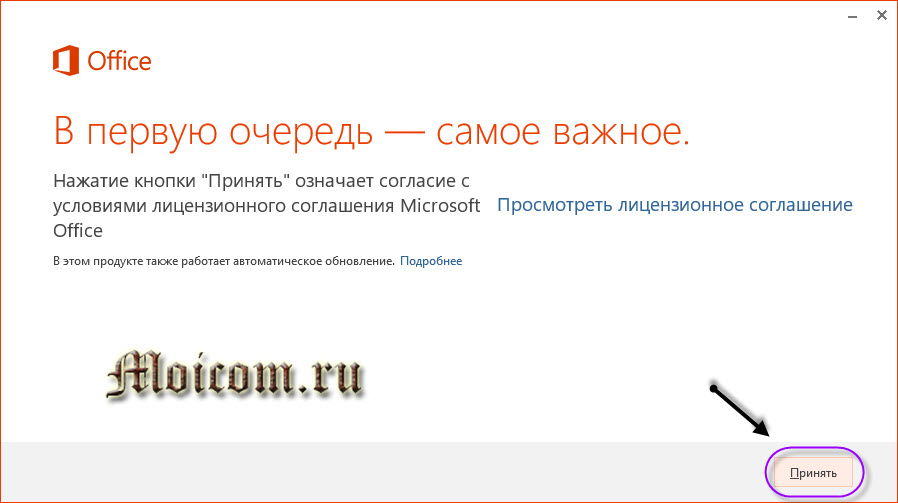
We accept the license agreement.
Watch the welcome video tutorial.
Introducing the One Drive cloud.
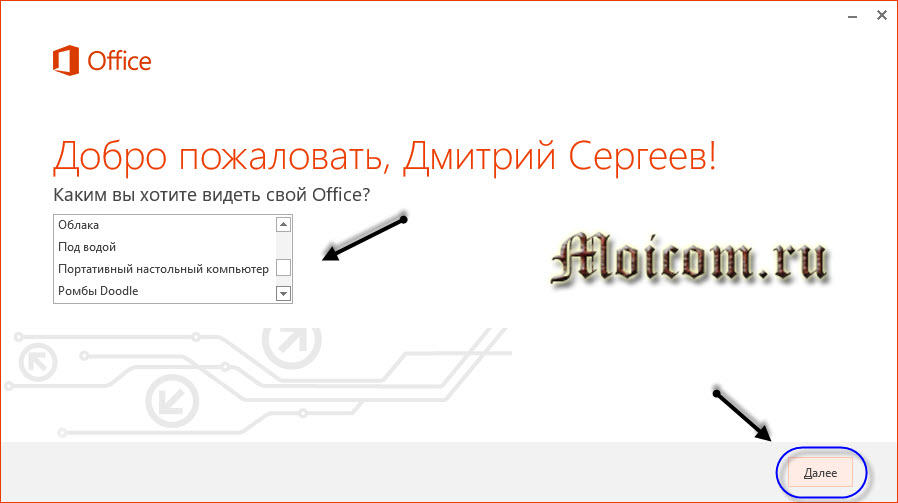
How you want your office to look like, you can choose a different interface from standard to underwater.
Many new products have appeared in the office, you can get acquainted with them or skip this step.

We are finished, enjoy your work.

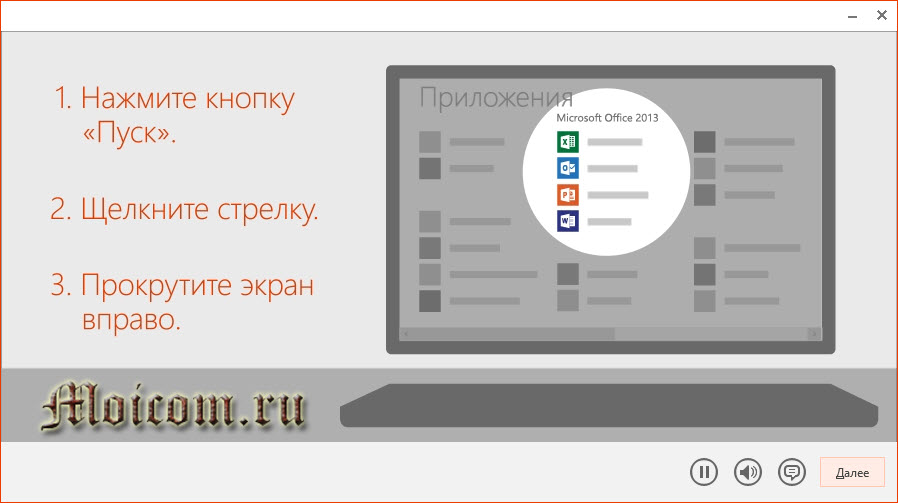
We go to the Start Menu, find new applications and launch the desired one.

For example, launch Power Point.

Opening or creating a presentation.
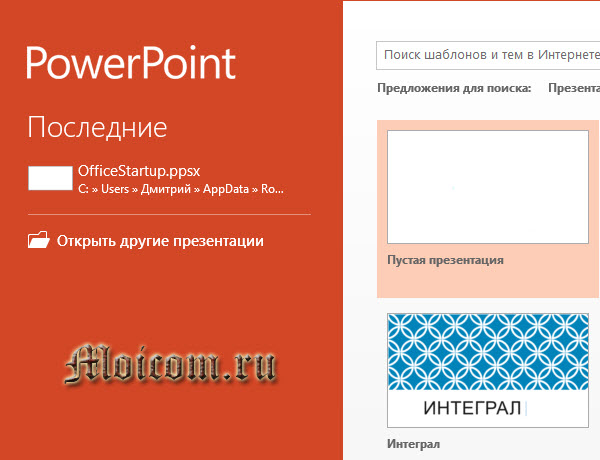
2013 office looks a bit like 2016.
Now let's consolidate the material and watch a video instruction on how to register on the developers' website, download and install Office 365 on your computer.
Microsoft Office 365 - Free One Year License | website
Let's sum up
Today we reviewed three ways to obtain a Microsoft office 365 license: buying a program, a free trial for a month and a one-year license, using Microsoft developer tools. Even if the annual subscription is for Office 2013, it has many new features and the ability to update the program.
Perhaps you have questions related to the office program. You can ask them below in the comments to this article, and also use the form with me.
Also, you can ask any questions related to computer topics on the page.
Thank you for reading me in